Introduction
This article shows you how to set up a Skeduler account. You learn how to:
- register for a free 14-day trial
- activate your account
- complete the company profile
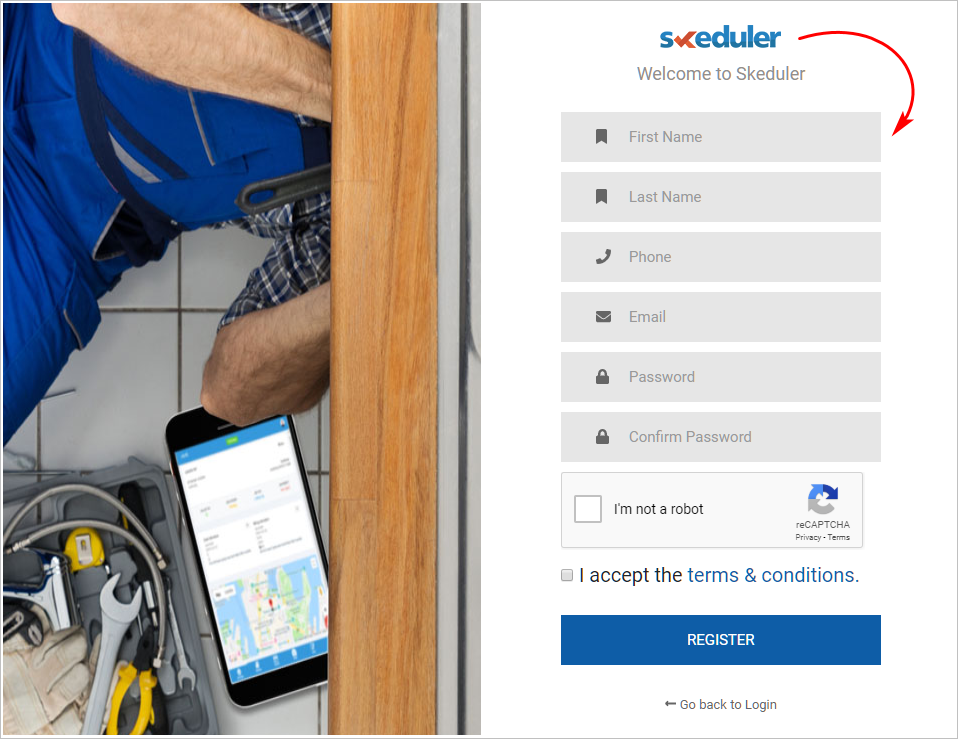
1 Completing the registration form
- Go to www.skeduler.com.au
- Click Free Trial. The sign up panel displays.
- Enter data for each field.
- Check the reCAPTCHA box.
- Check the box to accept the terms and conditions.
- Click Register.

2 Activating your account
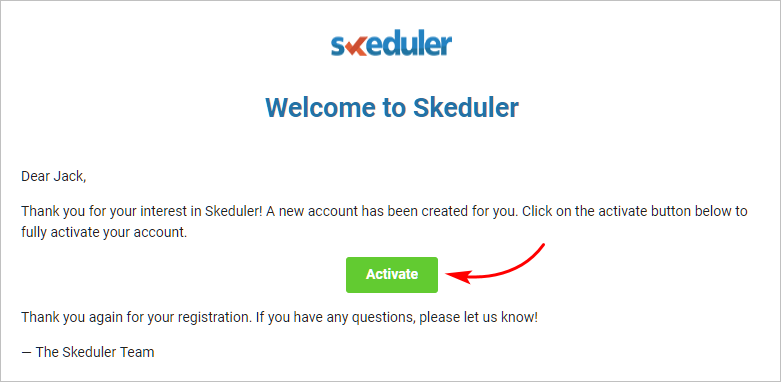
After registering, verify your email address to activate the account. If you don’t see the email message, check your spam folder.
- Open your email account.
- Open the email message from Skeduler.
- Click Activate. The login page displays.
- Login to your account. Two popup boxes display.
- Click the Facebook popup box to like Skeduler on your Facebook page.
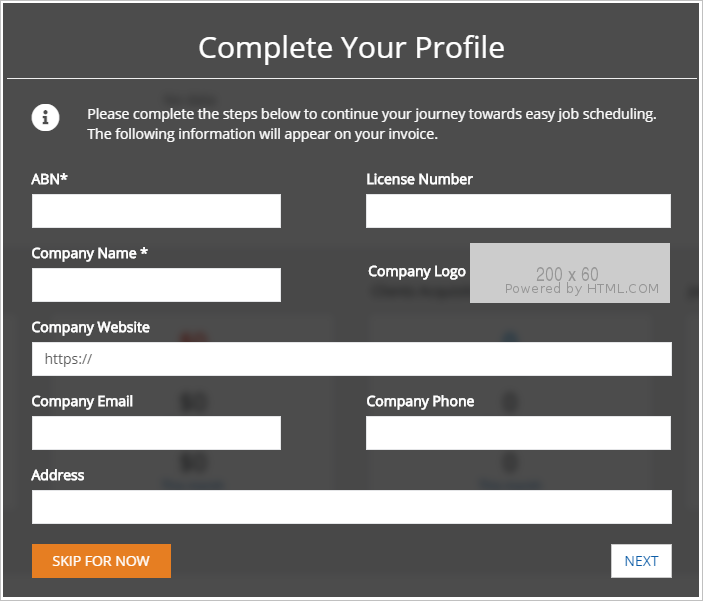
- To close the Facebook popup box, click away from the popup. The Complete Your Profile page box displays.
- To complete the profile later, click the Skip for Now button.

3 Completing the business profile
The company profile panel collects information about your business. This information appears on invoices created for your business by Skeduler.
If you skip this step, you can enter the information when you create or edit an invoice template.
- Enter your business information on the Complete Your Profile panel. Two fields are mandatory: ABN and Company Name.
- Click Next. The Terms and Conditions page displays.
- Read the terms.
- Check the box to agree to the terms. If you don’t agree, you can’t complete the profile.
- Click Finish. The Subscription page displays (if you are on the free trial).
