Introduction
This article shows you how to add a new Admin user to your Skeduler account. Admin users have full access to account information. An Admin user can:
- access all features including adding, editing, and deleting new jobs, estimates, sales, payments, credit notes, notes, and site visits
- access reporting and dashboard information
1 Adding an Admin user
- On the Skeduler site, scroll up to the top menu bar and click Settings. A drop-down menu displays.
- Select Users. A new page displays.
- In the top right corner of the page, click the blue +USER button. The New User page displays.
- Enter profile information for the new Admin.
- At the bottom of the page, select ADMIN.
- Click Save to finish.

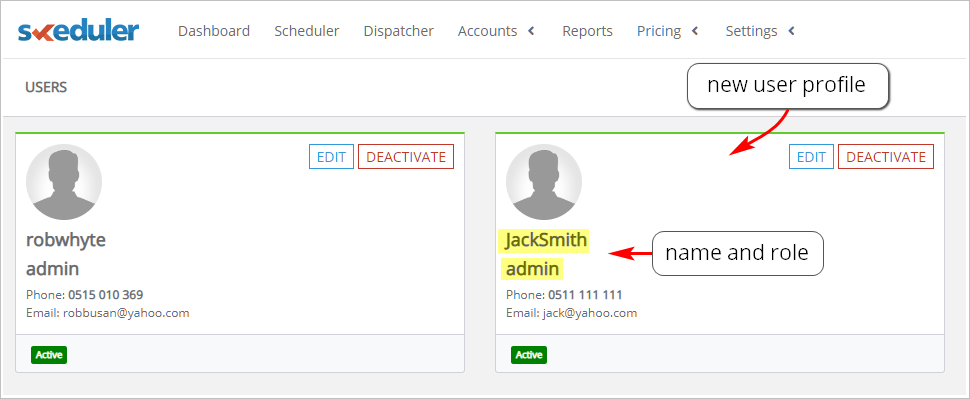
2 Verifying a new user
You can quickly check to see if a new Admin user was created.
- On the Skeduler site, scroll up to the top menu bar and click Settings. A drop-down menu displays.
- Select Users. A new page displays.
- Check the profile name and user role.