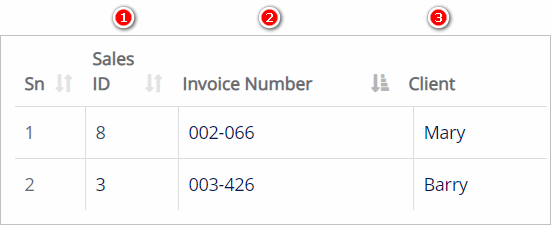
Introduction
This article shows you how to find and review payments. You also learn how to use filters to narrow the search of payments.
1 Opening the Payments page
The first step is to locate the Payments page.
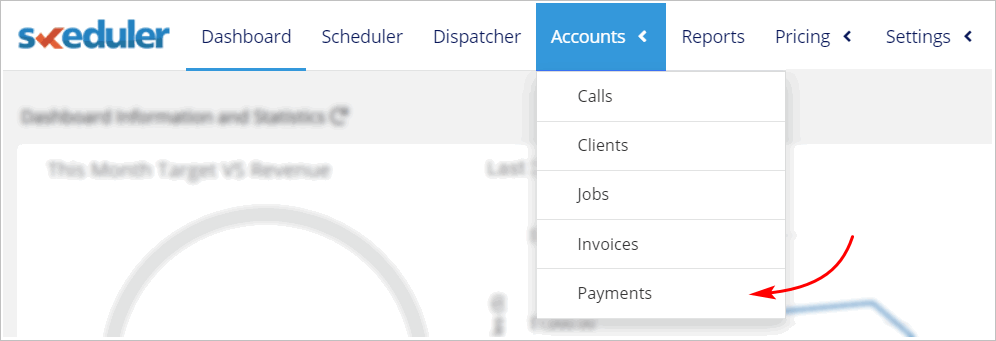
- Scroll up to the top of the page and locate the main menu bar.
- Click Accounts. A drop-down menu displays.
- Click Payments. The Payments page displays.
2 Understanding the Payments page
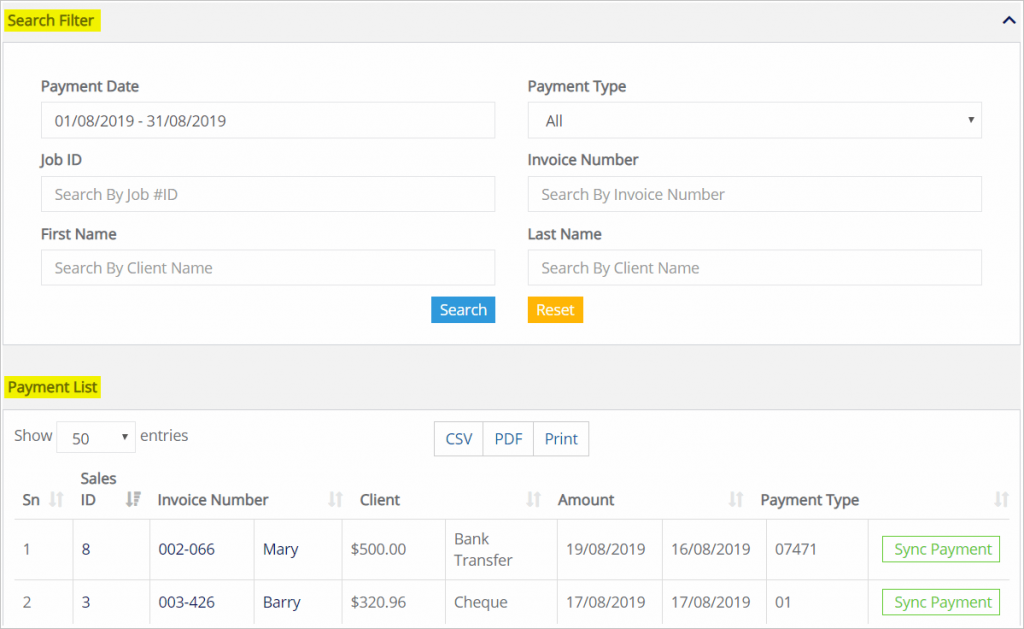
The Payments page has two parts.
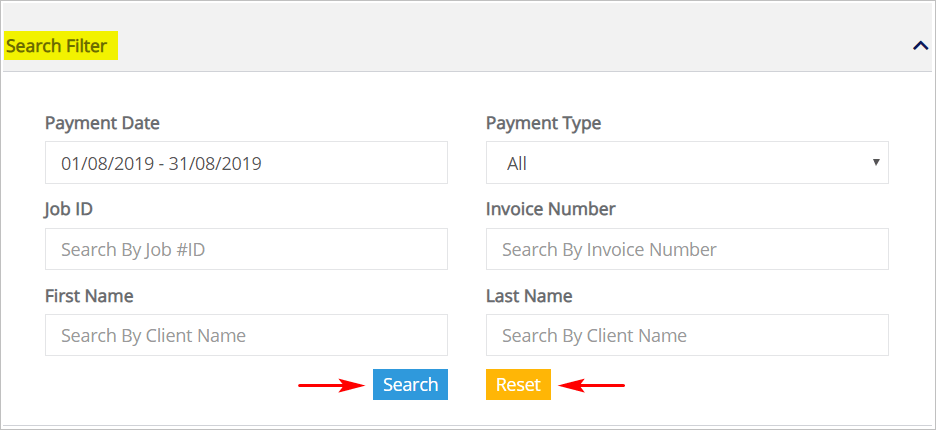
- The top of the page has Search Filters.
- The bottom of the page lists payment records.
3 Entering a date range
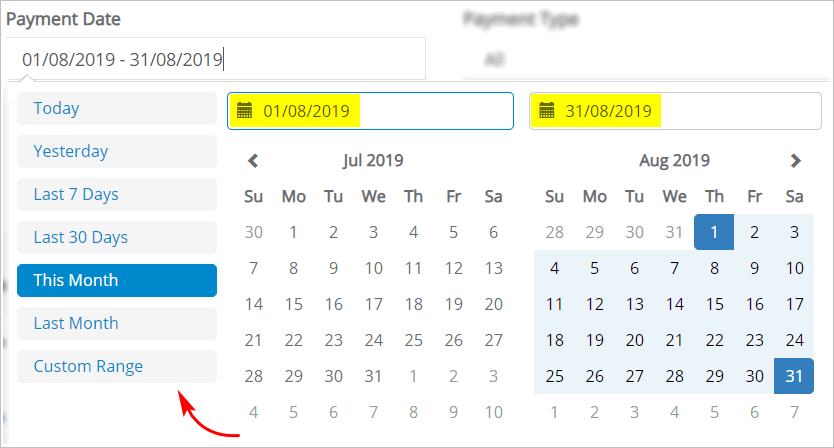
You can search for payments using the Payment Date tool. Payment Date means a period of time with a start date and an end date. If you are searching for one particular payment and are unsure about the date, select a wide range.
- Click the Payment Date box. A calendar displays.
- Select a preset time period from the left menu.
- To create a custom range, click the start date and end date of your search period.
- To search payments for one date, double-click one day on the calendar.
- Click Search. Search results display below the search filter.
- To search again with different filters, click Reset.
4 Using other search filters
You can narrow the payment search using other filters.
- Click a box and then enter the search data.
- For Payment Type, click the box and a drop-down menu displays.
- Select an option (e.g. cash, cheque, credit card, etc.) from the menu.
- Click Search. Search results display below the search tool.
- To search again with different filters, click Reset.
5 Viewing the payment list
Records that match your search filters display at the bottom of the Payments page.
- To sort the list, click the Up-Down arrows beside a data field name.
- To download an Excel file of payments, click CSV.
- To download a PDF file of payments, click PDF.
- To print the payments list, click Print.

6 Viewing detailed information
From the Payment List page, you can access more detailed information.
- Click Sales ID to open the Sales Invoice.
- Click an Invoice Number to open the Job Card page. This is where you’ll find detailed payment and balance information.
- Click Client to open the Client Card. You can view and edit contact information.
