Introduction
This article provides field staff with a workflow overview on the Scheduler system. By the end of this article, you will know each step from reading job details to payments and adding visits.
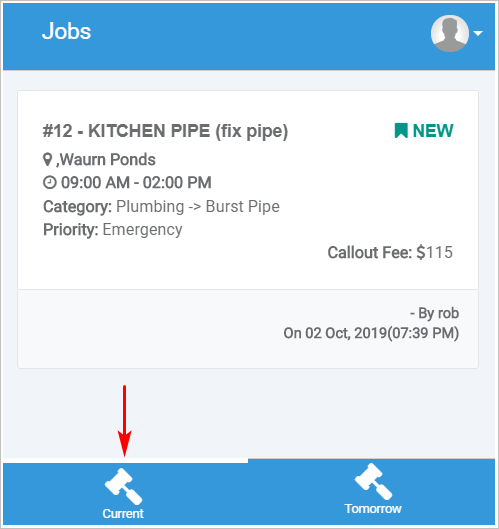
1 Viewing job details
- After logging on, the screen lists the current job.
- Scroll down and click Tomorrow to see the upcoming workflow.
- At the top of the screen, click the current job to see details.
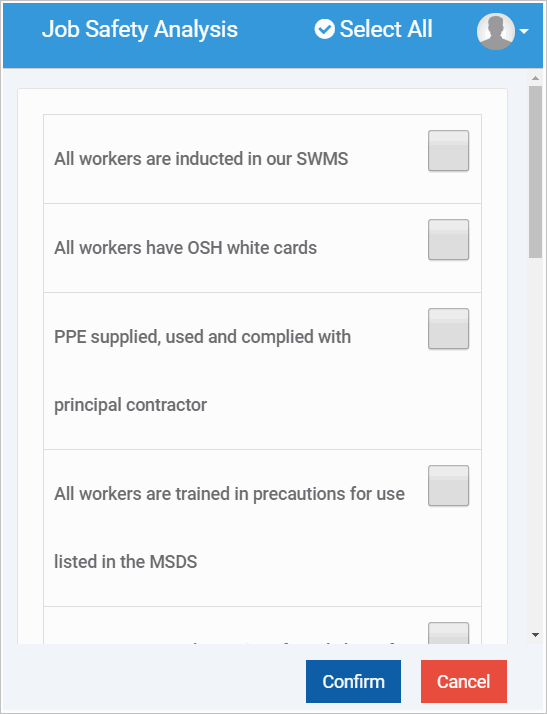
2 Completing safety analysis
- Scroll down the job details page and click Let’s Begin. A new panel displays.
- Complete the analysis and then click Confirm to start the job.
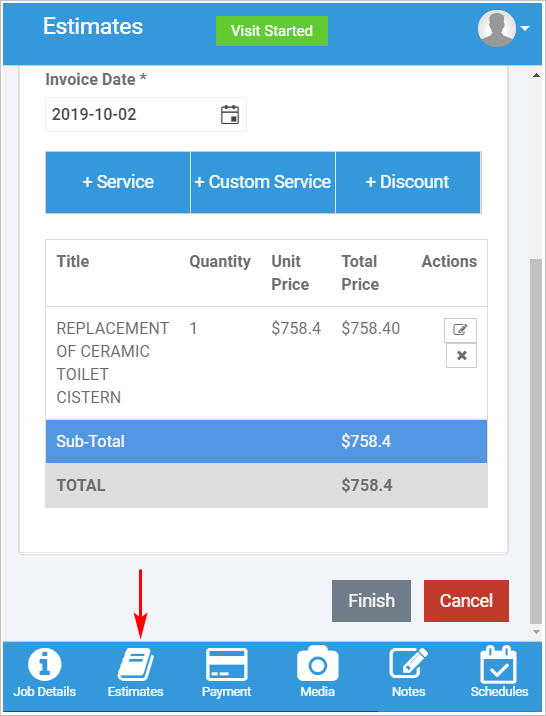
3 Completing an estimate
- At the bottom of the screen, click Estimates. A new page displays.
- On the new page, click New Estimate.
- Complete the estimate and then click Finish.
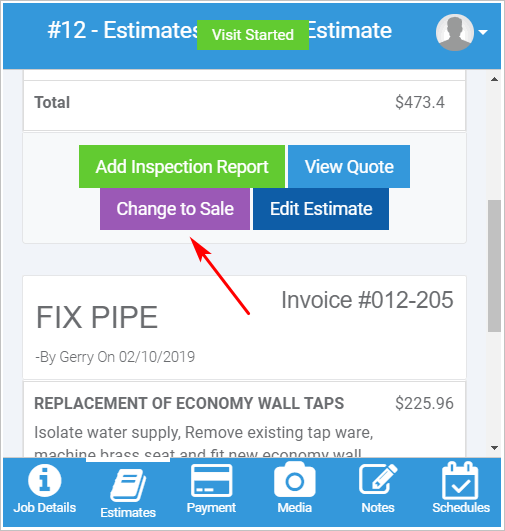
4 Completing a sale
- On the Estimate page, click the Change to Sale button.
- Complete the Authorization to proceed with work page with the customer.
- Click Save.
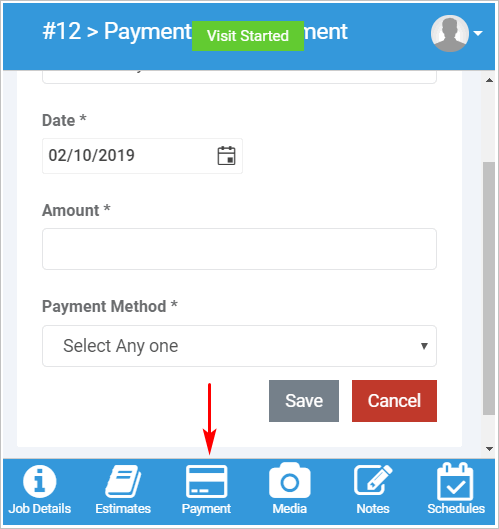
5 Recording a payment
- At the bottom of the screen, click Payment. The Payments page displays.
- Click New Payment.
- Complete the Payment page and then click Save.
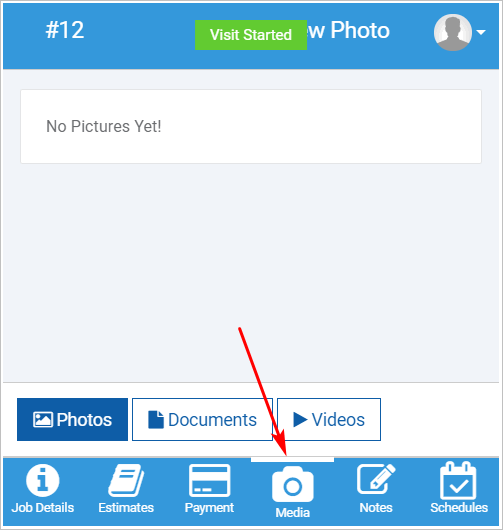
6 Adding media
- At the bottom of the screen, click Media. The Media page displays.
- At the bottom of the screen, select Photos, Documents, or Videos.
- Add media and then click Save.
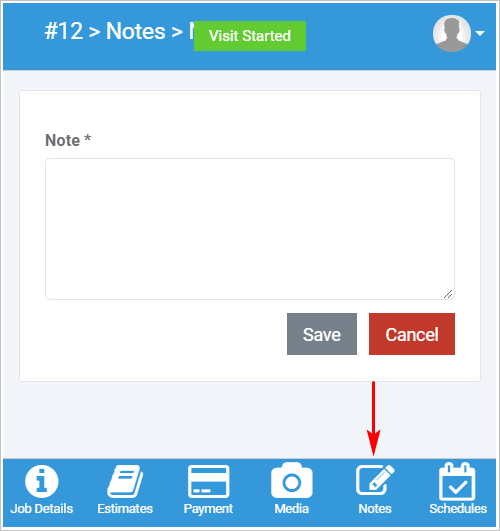
7 Adding notes
- At the bottom of the screen, click Notes. The Notes page displays.
- Record information and then click Save.
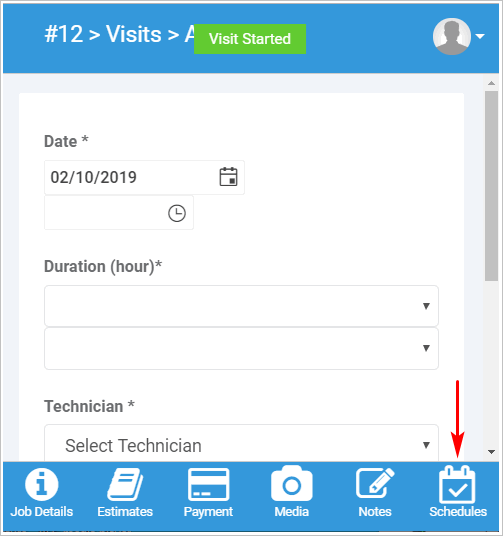
8 Adding visits
- At the bottom of the screen, click Schedules. The Add New page displays.
- Schedule a new visit.
- Click Save.
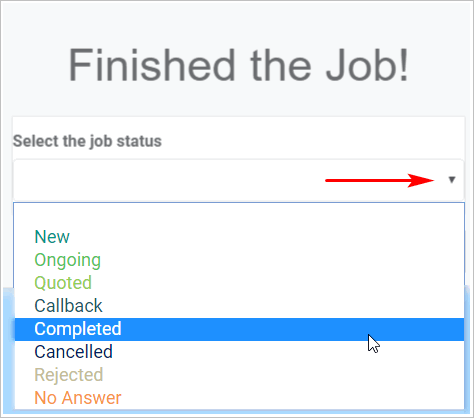
9 Finishing the job
- At the bottom of the screen, click the red Finish bottom. A drop-down menu displays.
- Select an option on the menu.
- Click Complete.