Introduction
A Time Block tells you when a staff person is not available during work hours (e.g. annual leave, sick leave, etc.). This is different from a Task, which marks time on the Scheduler board and tells you when a staff person is doing non-billable work (e.g. dropping off a vehicle for regular maintenance).
Located on the Scheduler board, the Time Block tool lets you:
- name the reason for time off
- assign staff name
- identify the start and end dates and times.
1 Locating the Scheduler board
You can access the Time Block tool from the Scheduler board.
- Scroll up to the top of the page and locate the main menu bar.
- Click Scheduler. The Scheduler board displays.
- Locate the blue buttons at the top of the page.
- Click ADD JOB. A job panel displays on the left side of the page.

2 Opening the Time Block panel
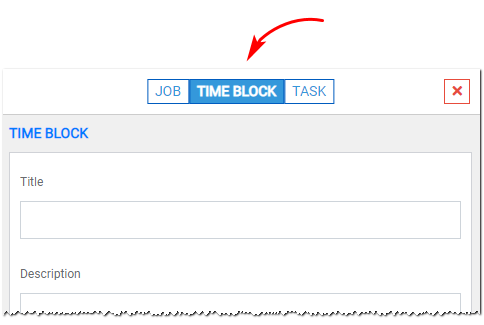
With the job panel open, click the TIME BLOCK tab in the top menu.

3 Creating a Time Block
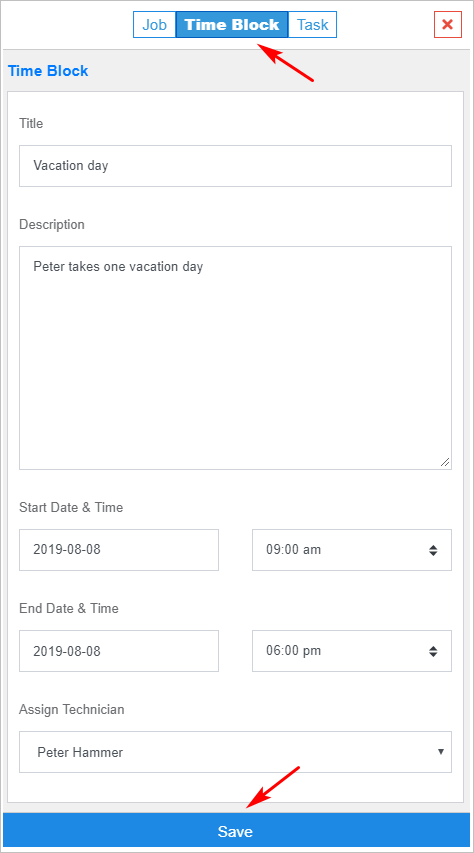
- Enter information inside the Time Block panel.
- Click Save.

4 Viewing a Time Block
To view the Time Block on the Scheduler board, select the correct date in the Date Picker.

5 Updating a Time Block
All information inside a Time block with a future start date can be updated.
- To change the assigned staff, go to the Scheduler board and drag the Time Block to a new staff person.
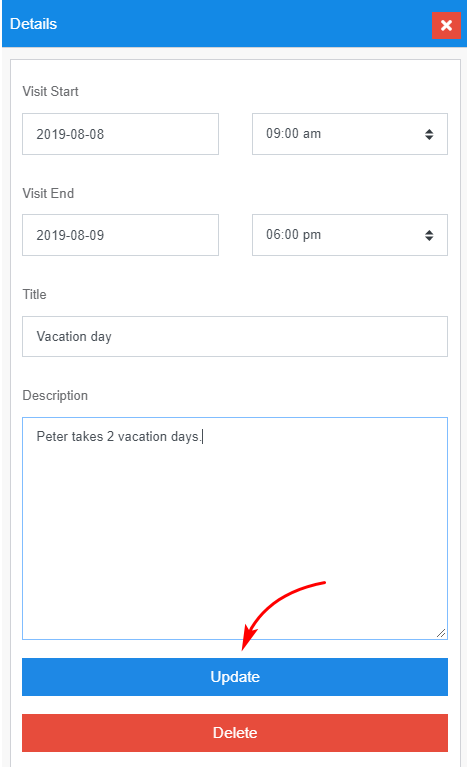
- Click a Time Block on the Scheduler board one time to open the Details panel. This where you can update information like start time and description.
- Click Update to save.
Time blocks which involve past activities can be partially updated. You can’t change staff allocations, but you can modify information in the DETAILS panel.
