Introduction
This article shows you how to record a customer payment on the Job card page.
Before recording a customer payment, you first need to create a job, submit an estimate, and convert an estimate into an invoice. That work is described in other articles. For more information, see:
You can also create a payment with the technician app. That task is described in a different article. For more information, see:
1 Opening the Job Card page
The first step is to locate a job card.
- Scroll up to the top of the page and locate the main menu bar.
- Click Accounts. A drop-down menu displays.
- Click Jobs. The Jobs page displays.
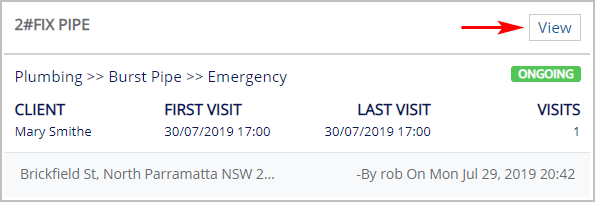
- Locate the job card you want to edit by recording a payment.
- Click View. The Job Card page displays.
2 Opening the Payments panel
The next step is to open the Payments panel for a job.
- On the Job Card page, scroll down to Payments.
- Click the +Payment button.
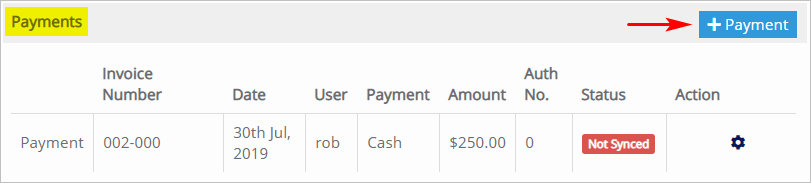
- The Payments panel displays.
3 Selecting an invoice
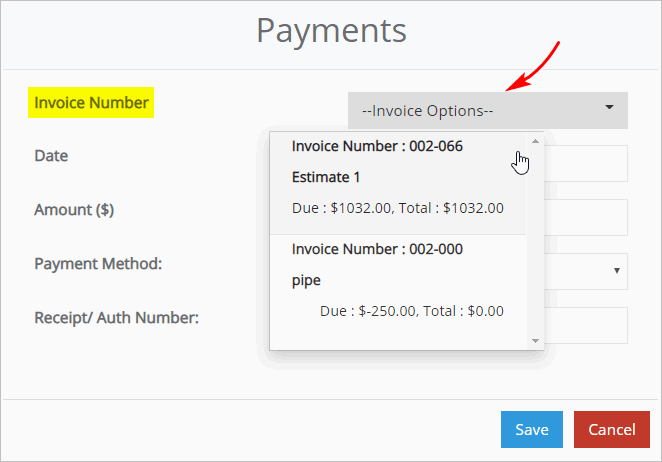
- With the Payments panel open, click the Invoice Options box. A drop-down menu displays.
- Select an invoice to match the payment. The menu closes and the invoice number displays.
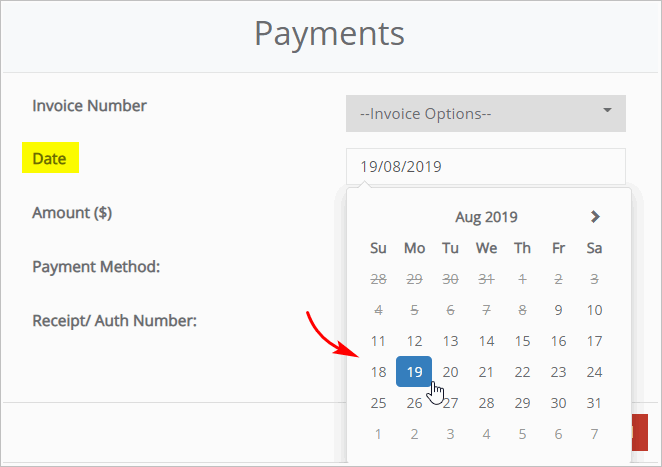
4 Selecting a date
- The current date displays in the date box.
- To change the payment date, click the date box. A calendar displays.
- Click the date you want to record for the payment. The calendar closes and the new date displays in the date box.
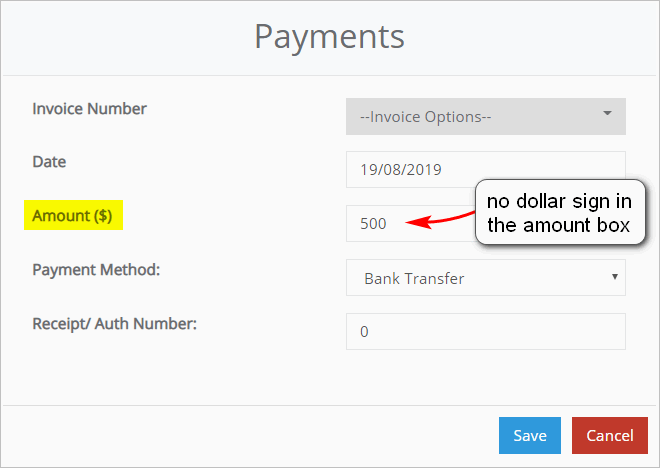
5 Entering an amount
- Enter the payment total in the Amount box. Do not include a dollar sign.
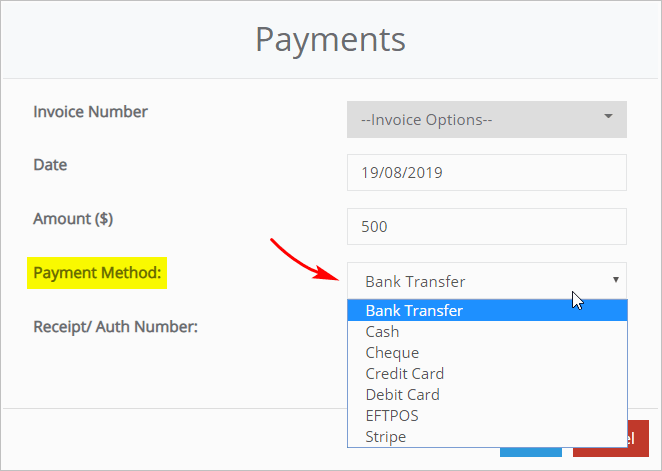
6 Selecting a payment method
- Click the Payment Method box. A drop-down menu displays.
- Select a payment method from the list. The menu closes.
7 Entering receipt or authorisation number
This information is optional and isn’t required to complete the Payments box.
- Click the Receipt/Auth Number box.
- Enter a receipt number or authorisation number.
- Click Save. The Payments box closes.
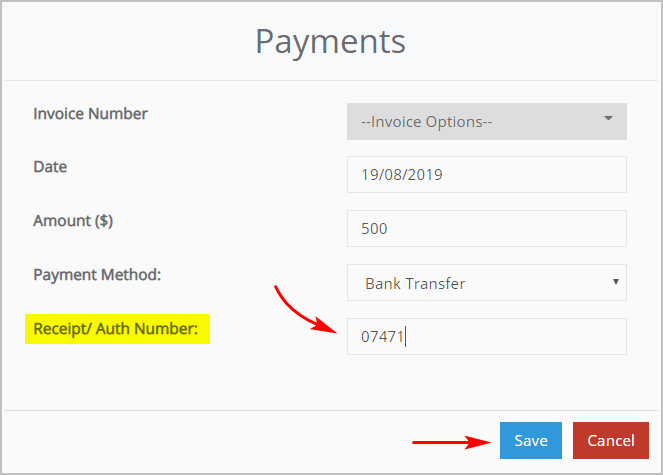
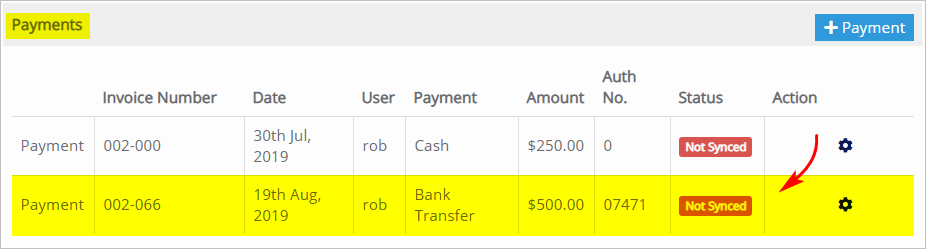
- The payment is now registered on the Job Card page.