Introduction
This article shows you how to provide customers with a refund. Many types of refund are possible. These include cash, cheque, and credit card refunds.
Creating a refund is a two-step process:
- create a credit note
- create a refund record
Issuing a refund is different from providing a customer with a credit. For more information about crediting a customer’s balance owing, see:
1 Opening the Job Card page
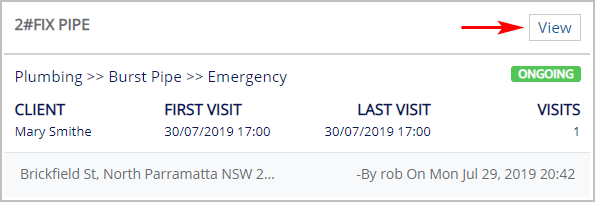
The first step is to locate a job card.
- Scroll up to the top of the page and locate the main menu bar.
- Click Accounts. A drop-down menu displays.
- Click Jobs. The Jobs page displays.
- Locate the job card you want to edit by recording a payment.
- Click View. The Job Card page displays.
2 Opening the Credit Notes panel
The next step is to open the Credit Notes panel.
- On the Job Card page, scroll down to Credit Notes.
- Click the +Credit Note button.

- The Credit Note panel displays.
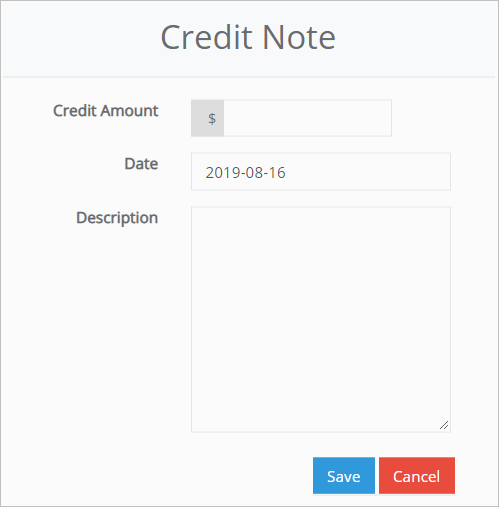
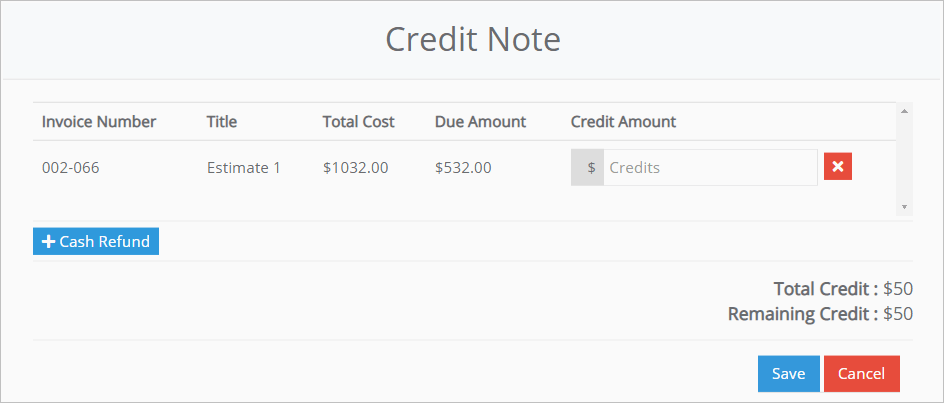
3 Creating a credit note
- With the Credit Note panel open, enter an amount.
- The current date displays in the date box. To change the payment date, click the date box. A calendar displays.
- Click the date you want to record for the payment. The calendar closes and the new date displays in the date box.
- Enter a description of the refund in the box.
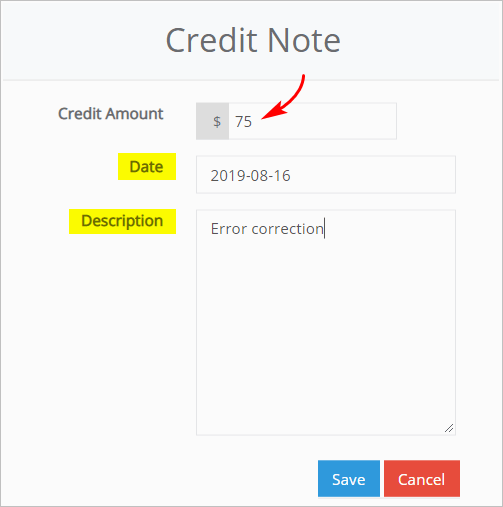
- Click Save. A new panel displays. It shows the current invoice and outstanding balance. At this stage, it does not show any adjustments.
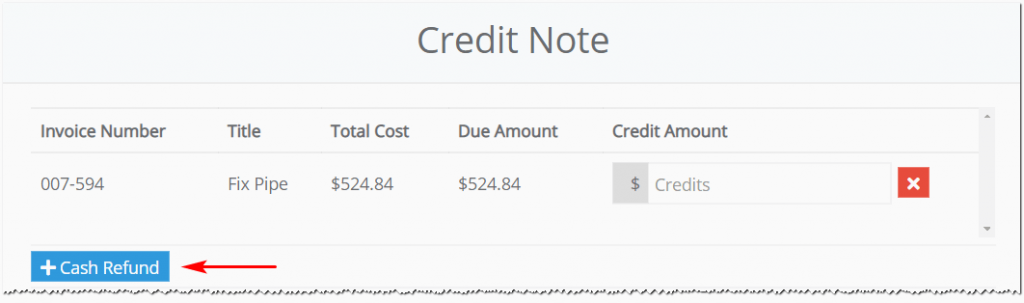
4 Issuing a refund
The next step is to issue a refund.
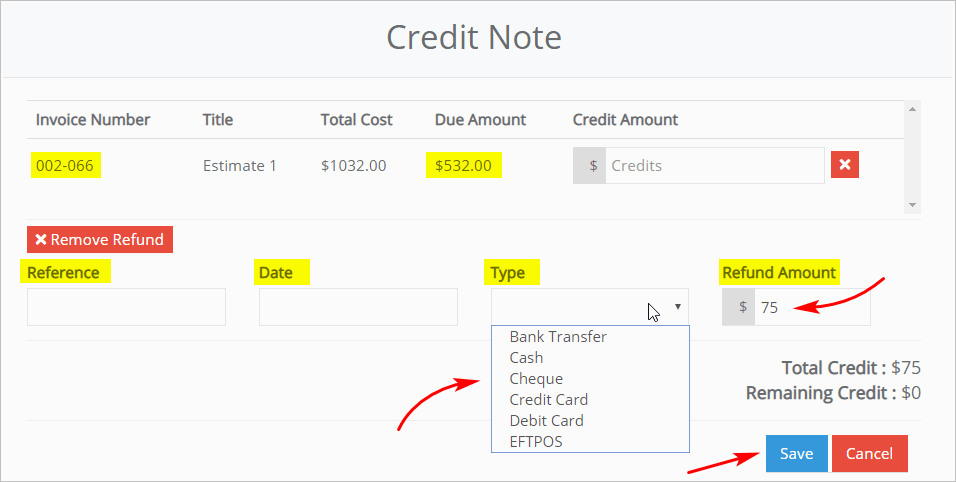
- With the new Credit Note panel open, click the +Cash Refund button. A refund panel displays.
- In the refund panel, enter a Reference number.
- Click the date box. The calendar displays. Select a refund date.
- Click the Type box. A drop-down menu displays. Select the type of refund.
- Enter a figure in the Refund Amount box.
- Click Save. The panel closes and the Job Card displays.
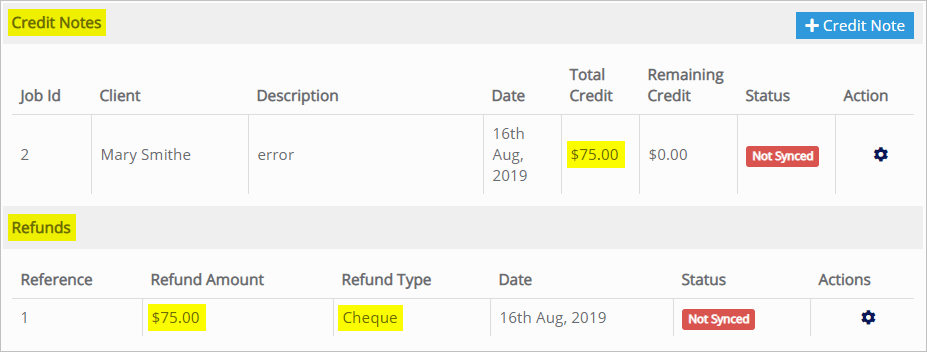
5 Confirming the refund record
After creating a refund, go to the Job Card board to confirm a record has been created.
- Scroll down to the Credit Notes box.
- Locate the credit record you created above. The record shows the correct refund amount.
- Scroll down to the Refunds box. The record shows the correct refund amount and type.